Arduino microcontrollers have become the go-to development platform for hobbyists, students, and professionals alike. Their simplicity and ease of use make them an ideal starting point for building incredible projects. However, as with any electronic system, Arduino-based projects can sometimes face issues that need to be debugged.
In this article:
- We explore the fundamentals, covering various techniques to diagnose and solve common issues.
- Expert tips on using multimeters, oscilloscopes, and serial monitors to troubleshoot hardware problems efficiently are provided.
- Real-world examples and step-by-step guidelines are given to equip you with the knowledge to troubleshoot your Arduino projects like a professional, minimizing downtime and frustration.
Why Hardware Debugging Matters
Developing an Arduino project can be an enjoyable and educational experience. Throughout the process, however, you may face unexpected challenges and issues with your hardware. Learning how to identify, diagnose, and resolve these problems systematically is a crucial skill for any Arduino developer, whether you’re a beginner or an experienced professional. It not only ensures that your projects work accurately and efficiently but also improves their overall reliability.
Common Hardware Issues in Arduino Projects
In Arduino-based projects, hardware issues can manifest in various forms. A few examples of such issues include:
- Incorrect Wiring or Pin Connections: Connecting the wrong pins or wires can lead to erratic behavior, unintended outputs, or even damage to your Arduino board and connected components.
- Power Issues: Insufficient or unstable power can cause erratic behavior or unexpected resets in your Arduino project.
- Short Circuits: A short circuit occurs when two conductive materials with different voltage levels make contact. This issue can cause excessive current flow, overheating, and component damage.
- Noisy or Erratic Signal: Noisy signals are the result of external interference or other issues, leading to unpredictable results in your project.
- Faulty Components: A damaged or defective component can negatively affect the behavior of your Arduino project.
Essential Hardware Tools for Arduino
To effectively debug hardware issues with Arduino projects, you’ll need an arsenal of tools to help you diagnose different problems. Some popular hardware debuggers for Arduino developers include:
1. Digital Multimeter (DMM):
A multimeter can be used for measuring voltage, current, and resistance, which is invaluable for identifying electrical issues.
- Checking continuity and connectivity
- Measuring voltages in circuits
- Testing components such as resistors, capacitors, and diodes
2. Oscilloscope:
An oscilloscope can visualize an electronic signal’s waveform, allowing you to analyze its timing, voltage, and other properties.
- Inspecting analog and digital signals
- Identifying signal noise or interference
- Measuring the frequency of oscillators
3. Logic Analyzer:
Logic analyzers are specifically designed for capturing and decoding digital signals, providing insights into the communication between components.
- Communication bus issues (e.g., I2C, SPI)
- Analyzing digital signal timing
- Identifying issues with signal integrity
4. Protocol Analyzers:
Protocol analyzers are dedicated tools for analyzing specific communication protocols, such as serial (UART). These tools can help identify problems like incorrect framing or baud rate settings.
- Capturing and decoding serial data
- Inspecting packet structure and content
- Identifying timing and signal integrity issues
5. Power Supply:
A stable and reliable power supply is essential for testing and debugging Arduino projects. An adjustable power supply can help you simulate different voltage and current conditions, ensuring your project behaves correctly under various circumstances.
- Providing stable and controlled power to the circuit
- Testing the robustness of the circuit under different power conditions
- Detecting power-related issues like voltage drops or excessive current draw
Pro Tips for Troubleshooting Arduino Hardware1. Develop a Strategy:
Before diving in, take a moment to assess the problem and develop a plan. This strategy can save you valuable time and resources by quickly identifying the root cause of the issue.
- Outline the steps you will take to identify the problem
- Document any observations or symptoms you notice with the project
- Clearly articulate the expected behavior vs. the actual behavior
2. Start with the Basics:
Resist the temptation to focus only on the intricate details of your circuit. Start with the basics and work your way towards more complex issues.
- Check for proper power connections and voltages
- Verify that all components are connected correctly
- Double-check wiring and pin connections for accuracy
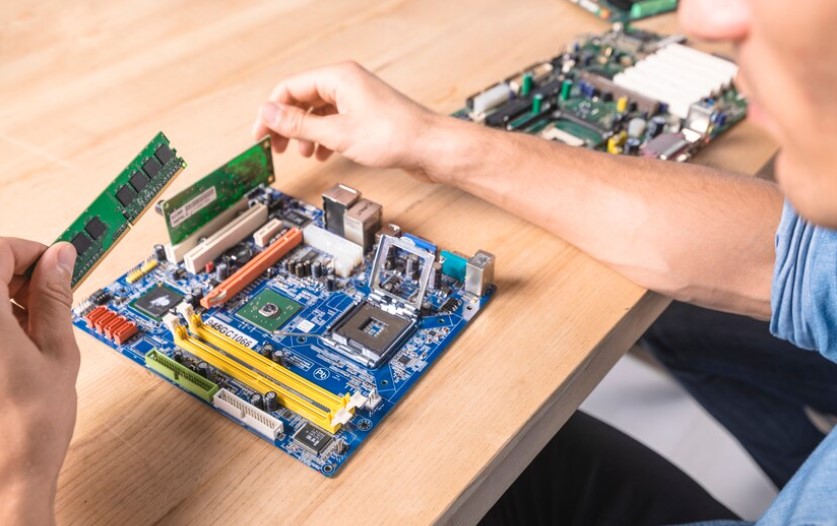
3. Use Visual Inspection:
A thorough visual inspection can reveal common issues such as damaged components, incorrectly placed parts or poor solder connections.
- Look for physical damage or irregularities on the board, wires, and components
- Ensure all parts are seated and soldered correctly
- Inspect for loose connections, short circuits, or other visible issues
4. Divide and Conquer:
When dealing with a complex circuit or system, it’s useful to break it down into smaller, manageable sections.
- Isolate individual components or subsystems within the project
- Test each subsystem individually to verify proper functionality
- Troubleshoot one issue at a time and re-check the overall system behavior
5. Document and Share Your Findings:
Keeping a record of your observations, hypotheses, and results can provide valuable insights during the process and help prevent future issues.
- Write down what has been tested and the results
- Share your findings with colleagues or online forums for additional insights
- Maintain a log of your processes to identify patterns and prevent recurrences of similar issues
Effective Techniques and Examples
In this section, we showcase some practical techniques and examples using different tools. These techniques can help you quickly identify specific problems.
- Using a Multimeter to Identify Short Circuits: By setting your multimeter to measure resistance or continuity, you can quickly identify short circuits in your Arduino project. Probing different points in the circuit can help locate potential shorts and verify the expected continuity.
- Analyzing Communication Bus Issues with a Logic Analyzer: If your Arduino project utilizes a communication bus such as I2C or SPI, a logic analyzer may come in handy. By capturing and decoding the signals on the bus, you can identify incorrect bus addresses, poorly formed data packets, or noise affecting communication.
- Diagnosing Serial Issues with a Protocol Analyzer: Should your Arduino project use serial communication (UART), a dedicated protocol analyzer can help you scrutinize the data transfers between devices. The analyzer can decode serial data, detect framing errors, and measure the baud rate to verify correct configuration and operation.
- Investigating Signal Integrity with an Oscilloscope: Oscilloscopes provide detailed information on analog and digital signals, including voltage, frequency, and waveform shape. Probing various points in your circuit can help identify issues such as noise, signal overshoot, or incorrect voltage levels that may be affecting your Arduino project.
Final Thoughts
Debugging Arduino hardware like a pro is not just about using the right tools or techniques but also about adopting the correct mindset and approach. Patience, curiosity, resilience, and systematic thinking are crucial traits of an effective debugger. By viewing each challenge as an opportunity to learn and grow, you’ll gain invaluable experience and skills that you can apply to future projects.
Remember that it is part art and part science, and with each issue you encounter, you’ll become better equipped to diagnose, fix, and ultimately prevent hardware issues in your Arduino projects. Embrace the process as an opportunity for growth, and you’ll soon be debugging Arduino hardware like a true professional.